The Curly Girl Method for Beginners: How to Start in 2026
New to the curly girl method? This beginner's guide covers the rules, ingredients to avoid, the transition period and a 4-week starter plan. Start here!
In this article
The curly girl method has a reputation for being complicated, with long lists of banned ingredients and a dozen new words to learn. At its core, though, it’s a handful of rules designed to stop stripping and roughing up curls so they can finally hold their shape. Here’s what it is, what to expect in the first few weeks, and how to start today without throwing out everything in your bathroom.
Key takeaways
- The method avoids sulfates, non-water-soluble silicones, drying alcohols, heat and dry brushing.
- Expect a 2–6 week transition while buildup clears and your hair and scalp recalibrate.
- A “final wash” with a clarifying shampoo removes old silicone before you begin.
- A modified version (sulfate-free clarifier, occasional protein, low-heat diffusing) works for most people.
- It isn’t for everyone: oily scalps, fine waves and some scalp conditions do better with a looser approach.
What the Curly Girl Method Actually Is
The curly girl method (often shortened to CGM) comes from hairstylist Lorraine Massey’s 2001 book Curly Girl: The Handbook. Her argument was simple: most curl problems are caused by the way we wash, dry and handle hair, not by the curls themselves. Remove the harsh steps, and curls improve on their own.
In practice, that means swapping shampoo for conditioner-based cleansing (co-washing), cutting out ingredients that coat or dry the hair, styling wet, and keeping heat and brushes away. The method grew online far beyond the book, and today’s popular version is a little stricter than the original.
If you’re brand new to curls, pair it with a basic weekly curly hair routine so the rules have a schedule to live in.
The Core Rules of the Curly Girl Method
There are five rules most followers agree on. Everything else (specific products, techniques, how often you wash) is adjustable.
1. No Sulfates
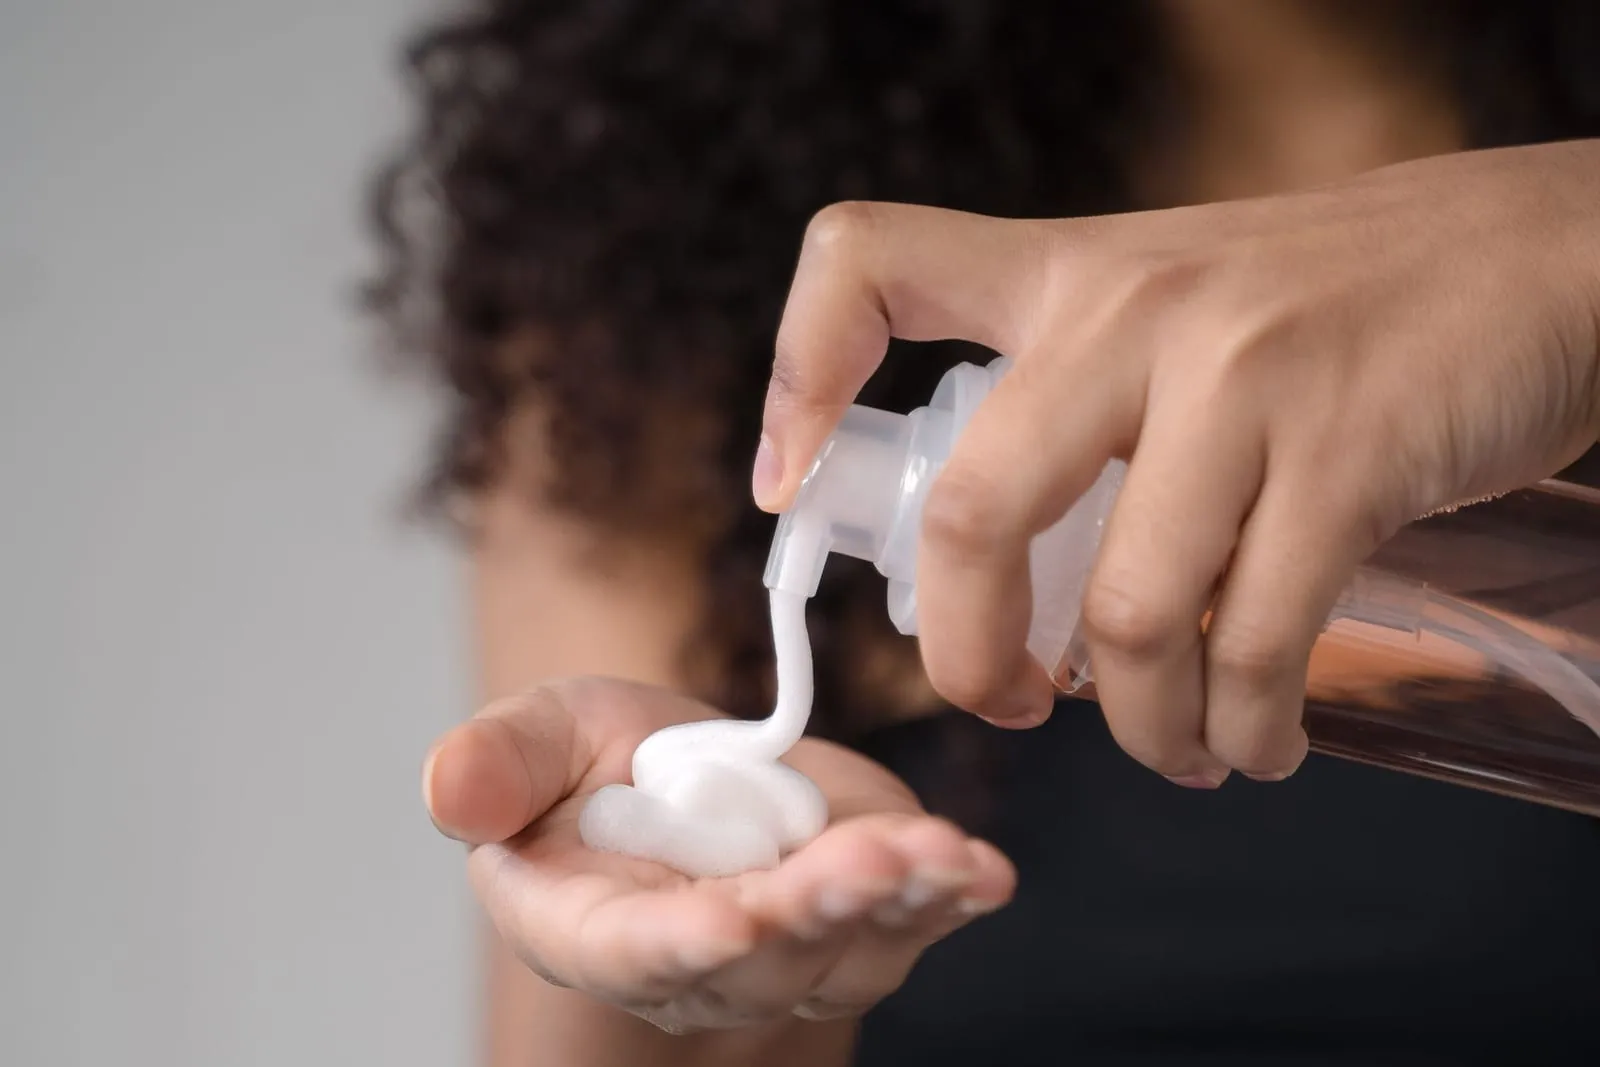
Sulfates such as sodium lauryl sulfate and sodium laureth sulfate are strong detergents. They clean well but strip the natural oils that curly hair already struggles to spread down the strand. CGM replaces them with gentle, low-lather cleansers or with conditioner.
2. No Non-Water-Soluble Silicones
Silicones such as dimethicone, amodimethicone and cyclopentasiloxane coat the hair for shine and slip. The catch is that most of them only wash out fully with sulfates. Without sulfates they build up, block moisture and leave curls limp and dull.
Water-soluble silicones, which usually carry a PEG- or PPG- prefix, rinse out with gentle cleansers and are allowed by most modified versions.
3. No Heat
Flat irons, curling irons and hot blow-drying lift and crack the cuticle. The strict method allows air-drying only; most people today also allow a diffuser on low or cool.
Did you know?
Each hair is wrapped in an outer layer called the cuticle, made of overlapping scale-like cells, a bit like roof shingles. Heat and rough handling lift those scales, which is why damaged hair looks dull and frizzy.
4. No Brushing or Combing Dry Hair
Brushing dry curls separates clumps into frizz and snaps strands at their weakest points. Detangle only while hair is wet and full of conditioner, with fingers or a wide-tooth comb.
5. Co-Wash and Style Wet
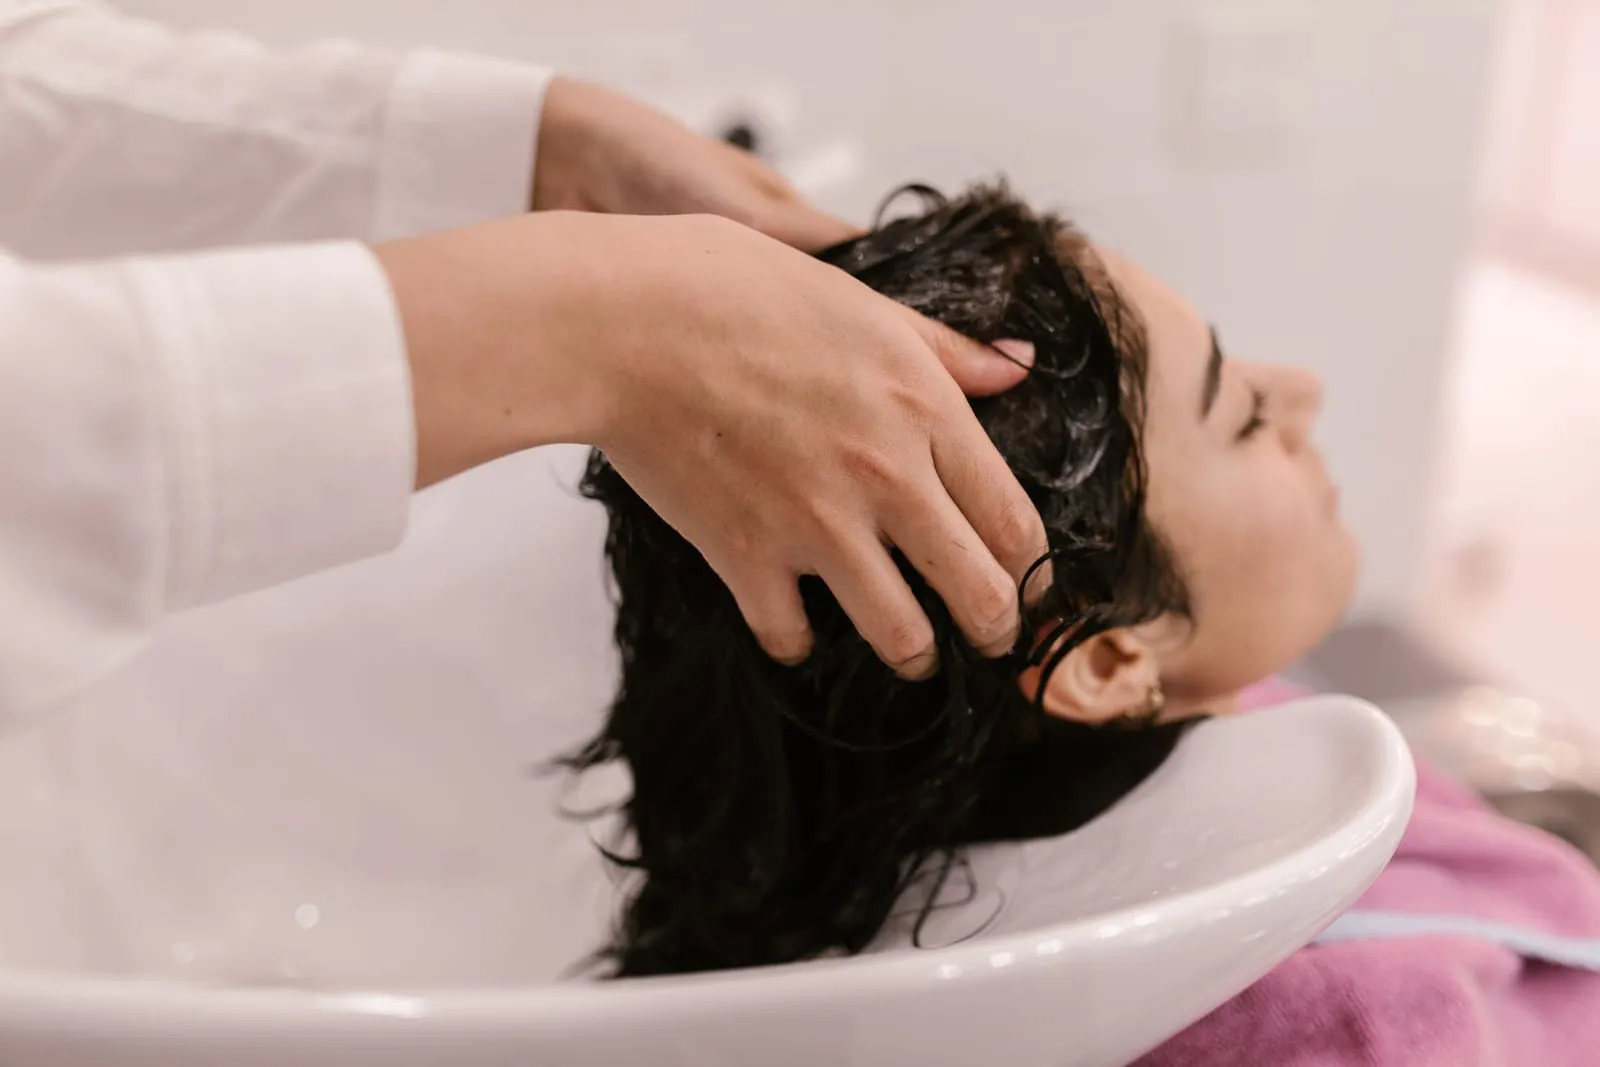
Cleanse with conditioner or a cleansing conditioner, massaging the scalp with your fingertips for a full minute to lift oil and dirt. Then apply styling products to soaking-wet hair and let curls dry undisturbed. Wet styling is its own skill, covered in how to define curls.
What people love about the method
- Curls that are visibly softer and more defined within a month or so
- Less frizz, because the cuticle stays smoother
- Fewer products and fewer wash days, which saves time and money
- A clear set of rules when you don’t know where to start
Where it falls short
- The transition period can be greasy, limp or frizzy
- Co-washing alone doesn’t suit oily scalps or sensitive skin
- Strict ingredient rules rule out products that work fine for many people
- It can become rigid and time-consuming if you treat it as law
Ingredients to Avoid (and Why)
Reading labels is the main skill the method asks of you. In the US, cosmetic ingredients are listed in descending order of amount, as the FDA’s cosmetics guidance explains, so whatever appears in the first five or six positions matters most.
| Ingredient group | Common names on the label | Why it’s avoided |
|---|---|---|
| Sulfates | Sodium lauryl sulfate, sodium laureth sulfate, ammonium lauryl sulfate | Strong detergents that strip natural oils and leave curls dry and frizzy |
| Non-water-soluble silicones | Dimethicone, amodimethicone, cyclopentasiloxane, phenyl trimethicone | Coat the strand, block moisture and only wash out fully with sulfates |
| Drying alcohols | Alcohol denat., SD alcohol 40, isopropyl alcohol, propanol | Evaporate fast and pull water from the hair; common in sprays and some gels |
| Waxes and mineral oil | Beeswax, candelilla wax, paraffin, mineral oil, petrolatum | Form a heavy film that builds up and needs strong cleansers to remove |
Two things trip beginners up. First, fatty alcohols (cetyl, cetearyl, stearyl and behenyl alcohol) are moisturizing and perfectly fine; only the short-chain alcohols in the table are drying.
Second, “sulfate-free” and “silicone-free” claims on the front of a bottle tell you nothing about waxes or drying alcohols, so always check the back.
Quick hack
Scan the label for endings: most silicones end in “-cone”, “-conol” or “-siloxane” (dimethicone, dimethiconol, cyclopentasiloxane). A PEG- or PPG- prefix usually marks the water-soluble kind that most modified versions allow.
The Transition Period: What to Expect
The first two to six weeks are where most people give up. Knowing what’s coming makes it much easier to push through.

Day 1: the final wash. Before you start, do one last wash with a clarifying shampoo to strip existing silicone and wax. Skipping this step is why many people’s first co-wash feels greasy and coated.
Weeks 1–3: greasy roots and limp lengths. Your scalp is used to being stripped and may feel oily. Co-wash more often at first (every two or three days) and massage for a full 60 seconds.
Weeks 2–4: the “wet frizzies.” Hair that looks fuzzy while it’s wet, even with conditioner in, usually means the cuticle is rough and the strand isn’t holding water. It often points to leftover buildup, a need for deep conditioning, or a protein-moisture imbalance. A clarifying wash followed by a mask typically fixes it, covered in deep conditioning for curly hair.
Weeks 4–6: things click. Curls start clumping, frizz drops, and day-two hair becomes possible. This is the right moment to judge whether the method suits you.
Keep a simple hair log
Note the date, what you used and how your hair looked the next day. After three weeks you’ll see patterns (limp after cream, crunchy after too much gel) that are impossible to spot from memory, and you’ll sidestep the most common curly hair mistakes.
A 4-Week Curly Girl Starter Plan
You need four products to begin: a clarifying shampoo for the reset, a silicone-free conditioner (or cleansing conditioner) to co-wash and detangle, a leave-in, and a gel. Add a deep conditioner in week two.
| Week | Cleansing | Conditioning | Styling | Goal |
|---|---|---|---|---|
| 1 | Final clarifying wash, then co-wash every 2–3 days | Regular conditioner; detangle in sections | Leave-in and gel on soaking-wet hair; air-dry | Clear buildup, learn wet styling |
| 2 | Co-wash every 3 days | Add one 15-minute deep conditioner | Same products; adjust gel amount up or down | Fix dryness and wet frizzies |
| 3 | Co-wash every 3–4 days | Weekly deep conditioner | Try plopping, or diffusing on cool | Stretch time between washes |
| 4 | Co-wash or low-lather cleanser once or twice | Weekly deep conditioner | Refine amounts; add a day-2 refresh | Settle on a routine you can keep |
Change one thing at a time. Keep every wash the same for a full week before adjusting, because swapping cleanser, conditioner and gel together makes it impossible to know what helped.
Start with small amounts, too: a quarter-size of leave-in and a quarter-size of gel per side is enough for shoulder-length hair. Add more only if curls dry frizzy.
Quick hack
For a day-two refresh, mix water with a pea-size drop of conditioner in a spray bottle. Mist lightly, scrunch and let air-dry, which revives clumps without a full wash.
Modified CGM: Bending the Rules Without Breaking Them
The strict method works best for dry, thick, high-porosity curls. For everyone else, a modified version keeps the spirit (gentle, moisture-first, low manipulation) while fixing the most common complaints.

- Use a sulfate-free clarifying shampoo every two to four weeks. Cleansers such as sodium C14-16 olefin sulfonate or cocamidopropyl betaine remove gel and hard-water buildup with less stripping than traditional sulfates. Low-porosity hair in particular tends to need this; see low vs high porosity hair to find out which you have.
- Add hydrolyzed proteins when hair feels mushy or over-soft. Hydrolyzed wheat, rice, silk or keratin in a conditioner or treatment temporarily patches gaps in the cuticle and restores spring. Use one every two to four weeks, and less often if hair feels stiff or straw-like afterward.
- Allow water-soluble silicones. They give slip and shine and rinse out with your regular cleanser.
- Diffuse on low heat and low speed. It’s far gentler than a flat iron.
- Alternate co-washing with a low-lather cleanser. Most scalps are happier with a mild surfactant at least once a week.
Did you know?
Hard water carries dissolved minerals such as calcium and magnesium, according to the U.S. Geological Survey. These minerals can leave a film on hair, which is why some people in hard-water areas need a clarifying wash more often.
Who the Method Isn’t For
Strict CGM assumes dry hair and a scalp that tolerates less cleansing. If any of these sound like you, loosen the rules or skip the method altogether.
- Oily scalp or fine, low-density waves. Co-washing often leaves these flat and greasy within a day. Use a gentle shampoo at every wash and the lightest stylers you can find.
- Dandruff, seborrheic dermatitis or a sensitive scalp. These usually need regular, thorough cleansing and sometimes a medicated shampoo.
- Daily heat styling. The method’s biggest wins come from stopping heat. If that isn’t on the table, focus on heat protectant and lower temperatures instead.
- Hard water and heavy gel use. You’ll need a chelating or clarifying shampoo regularly, which the strict rules forbid.
See a professional for scalp or shedding changes
If co-washing leaves your scalp itchy, flaky or sore for more than a couple of weeks, or you notice increased shedding or thinning, stop and see a board-certified dermatologist or a trichologist. The American Academy of Dermatology’s hair care advice is a good starting point, but persistent scalp symptoms need a diagnosis, not a new conditioner.
The Bottom Line
The curly girl method is really a set of habits: cleanse gently, keep moisture in, style wet, skip heat and stop brushing dry curls. Follow the four-week plan to get through the transition, keep notes, and then relax the rules wherever your hair tells you to. A loose, modified version you’ll actually stick with beats a strict one you abandon in week three.
Frequently Asked Questions
Do I have to co-wash on the curly girl method?
How long does the curly girl method take to work?
Are all silicones banned on the curly girl method?
Can I use a diffuser on the curly girl method?
You might also like
More in Hair Care →
12 Curly Hair Mistakes Making Your Curls Frizzy, Flat or Dry
These 12 common curly hair mistakes are why your curls go frizzy, flat, stringy or dry, plus the simple fix for each one. See which ones you're making!

A Simple Weekly Curly Hair Routine (Works for Wavy Hair Too)
Follow this simple weekly curly hair routine for soft, defined curls and waves, with wash day, refresh days and night care mapped out. Steal the schedule!

How to Detangle Curly Hair Without Breakage
Learn how to detangle curly hair without breakage with a step-by-step method, the right tools and fixes for stubborn knots. Save this guide for wash day!