Braid-Out Tutorial for Defined Waves and Curls
Follow this braid-out tutorial for defined waves and curls: prep, braiding, drying and take-down, plus fixes for frizz and fluffy roots. Try it tonight!

In this article
This braid-out tutorial gets you stretched, defined waves or curls with no heat. Too often you spend an hour on a braid-out and wake up to either a fluffy triangle or limp, flat waves. Neither is your fault, because the result depends on a few small details: how damp the hair is, how much product you use and how big each braid is. Each step below is spelled out so you know exactly what to do.
Key takeaways
- Braid on damp hair, about 70-80% dry, with a leave-in and a gel or cream already worked in.
- Braid size sets the pattern: bigger braids give loose waves, smaller braids give tighter, crimped curls.
- The hair must be completely dry before you take the braids down, or the set turns frizzy.
- Take braids down with oiled fingers, and do not comb or brush the hair.
- A satin bonnet at night can stretch the style for several days.
What Is a Braid-Out and Who Is It For?
A braid-out is a no-heat style: you braid damp hair, let it dry in the braids, then unravel them for stretched, patterned waves. It suits wavy, curly and coily hair, and it works on both natural hair and hair that has been washed and styled that day.
The result looks different depending on the braid. Not sure where your hair sits on the scale? Take the 1-minute curl type quiz or see the curl types chart first.
Did you know?
Hair holds its shape through hydrogen bonds, which break when hair is wet and re-form as it dries. That is why a braid-out works: the hair dries in a wavy shape, and the new shape lasts until the hair is wet again.
Braid-Out Tutorial: What to Prep Before You Start
Good results start before the first braid. The prep matters more than the braiding itself.
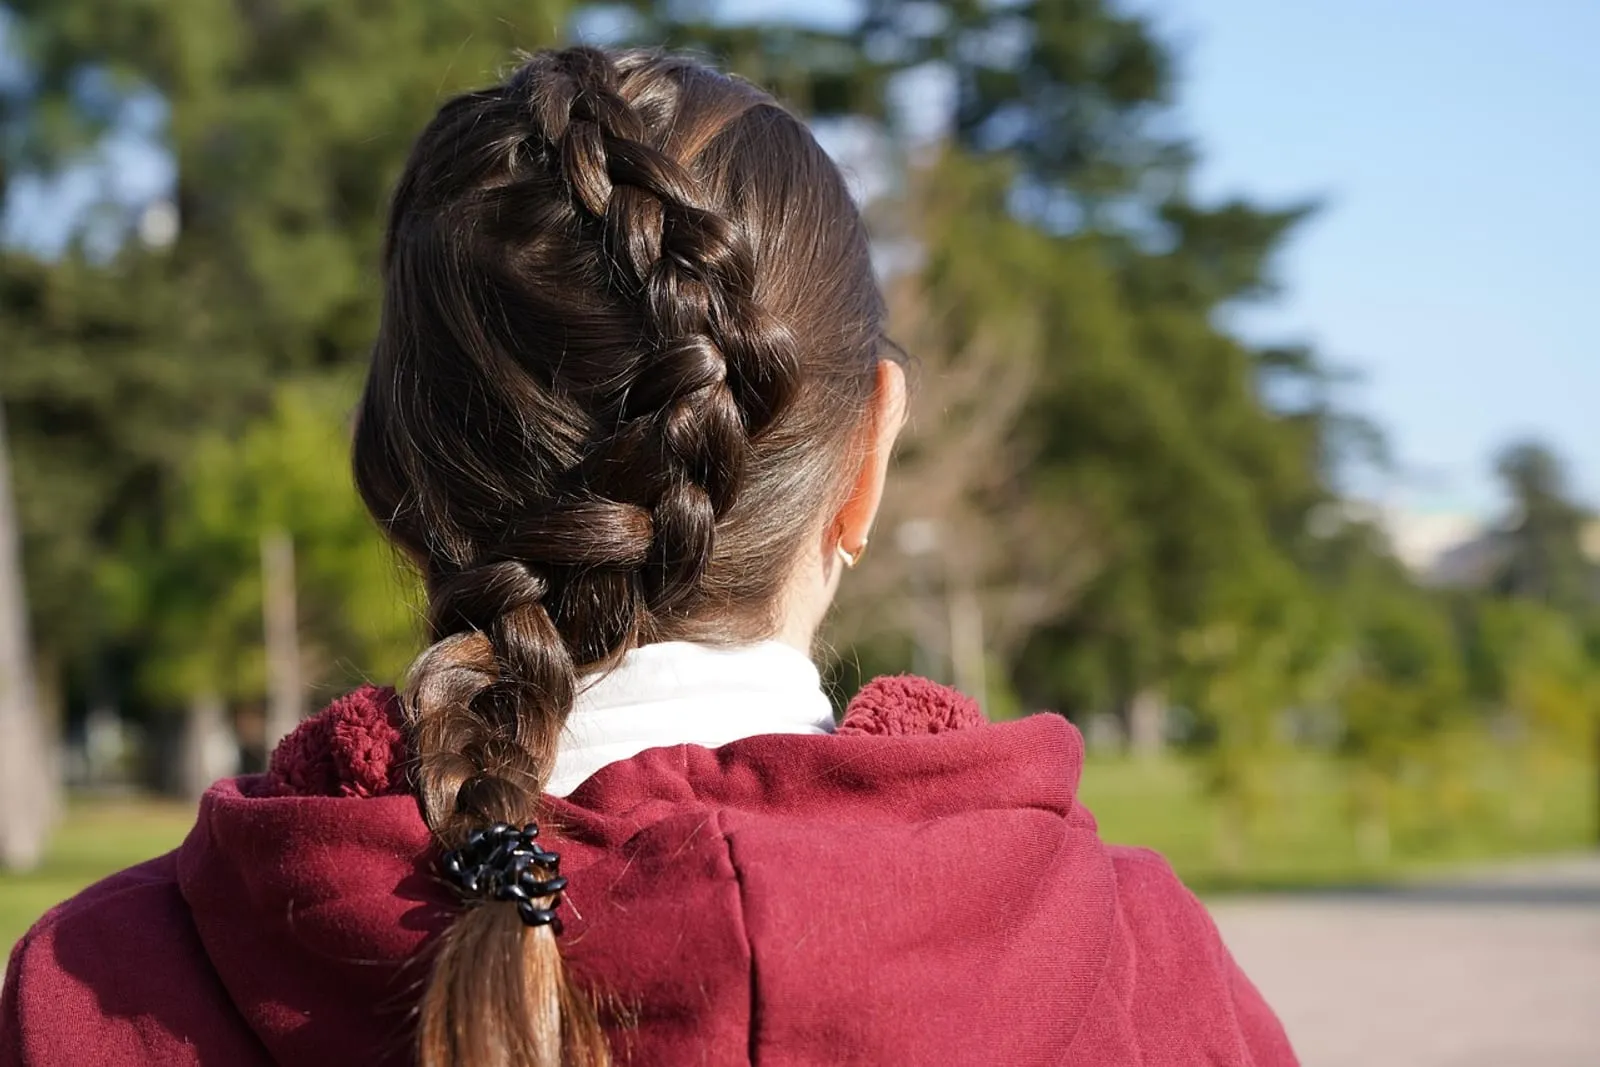
You will need:
- A wide-tooth comb and a few clips
- A water spray bottle
- A leave-in conditioner and a gel, cream or mousse
- A few snag-free elastics, or none if you prefer to braid without them
- A satin bonnet or scarf for the night
Start with freshly washed hair, or refresh day-two hair with water. Wondering how to lock in moisture first? Our deep conditioning guide covers the step before styling.
Pick Your Braid Size
The number of braids is the biggest lever you have over the final look. Use this table to choose.
| Braids | Pattern you get | Drying time | Best for |
|---|---|---|---|
| 2 large braids | Loose, soft waves | Shortest | Fine or wavy hair, quick wash day |
| 4 to 6 medium braids | Defined, stretched waves | Medium | Most hair types |
| 8 to 12 small braids | Tight, crimped curls | Longest | Thick hair, or more volume |
How to Do a Braid-Out, Step by Step
Take your time with the first two steps. They decide most of the outcome.
Step 1: Start With Damp, Detangled Hair
Detangle gently with a wide-tooth comb, starting at the ends. The hair should feel cool and damp, not dripping. If water runs down your wrist when you squeeze a section, wait 10 to 15 minutes.
Step 2: Add Product Section by Section
Divide the hair into the number of parts you chose and clip them out of the way. Work through one section at a time. Rake in a leave-in conditioner, then smooth over a quarter-size amount of gel or cream, and use more for thick hair.
The praying-hands trick
Press a little product between your palms, then glide your hands down each section like you are smoothing a rope. It coats the hair evenly and helps cut the frizz that comes from rough raking.
Step 3: Braid Loosely From the Roots
Braid right down to the ends and keep the tension light. A tight braid pulls on the scalp and a very loose braid gives frizzy, uneven waves. For curlier ends, twist the tail of each braid around your finger and secure it with a soft elastic.
Keep it comfortable
If your scalp feels sore while you braid, loosen the braid. Constant tension on the hair follicles is what dermatologists link to hair loss from tight styles; see the American Academy of Dermatology for guidance.
Step 4: Let It Dry Completely
This is the step people rush. Hair needs 6 to 8 hours to dry for most people, so overnight works best. Sleep in a satin bonnet, and sleep on a satin pillowcase if you have one. If you need it faster, use a hooded dryer on low or a diffuser on a cool setting for 15 to 20 minutes.
For tips on protecting a style while you sleep, see our guide on how to sleep with curly hair.
How to Take Down a Braid-Out Without Frizz
The take-down is where a great set can turn into a poofy one. Go slowly.

- Check dryness. Feel the center of a braid. If it is cool or damp, leave it in longer.
- Oil your fingers. Rub a dime-size drop of lightweight oil between your palms.
- Unravel from the bottom. Undo each elastic and unbraid up to the root gently.
- Separate lightly. Pull each section apart a little with your fingertips, only as much as you need.
- Fluff the roots. Tilt your head forward and press your fingertips at the scalp.
If you used a gel, you may feel a stiff cast. That is normal. Scrunching it out lightly with a little oil is what turns it soft and bouncy.
Did you know?
Curly hair grows from an oval or flattened follicle, so each strand is not perfectly round. This shape helps explain why curly hair is more fragile and prone to frizz, and why gentle handling matters at every step.
How to Make Your Braid-Out Last
A braid-out can last several days if you protect the shape at night.
- Pineapple it. Gather your hair in a loose, high satin scrunchie on top of your head before bed.
- Cover it. A satin bonnet or scarf reduces friction against the pillow.
- Refresh with water. Mist a little water on dry spots in the morning and shake gently.
If you need a longer fix, our guide on how to refresh curls on day 2 shows how to revive them without a full wash.
Re-braid at night
If your braid-out loses shape on day 3, mist the hair lightly, add a little cream and loosely braid it in 2 large braids before bed. You wake up with softer waves and no new wash day.
Troubleshooting Your Braid-Out
Your Braid-Out Looks Frizzy
This usually means the hair was too wet, you took it down before it was dry, or you separated too much. Next time, braid at 70-80% dry, let it dry fully and use only your fingertips to separate. See also our frizzy hair fixes.
Your Waves Fall Flat
Fine hair often needs more hold. Try a mousse or light gel and make smaller braids. Do not skip the cooling down; let the hair dry completely before you touch it.
Your Hair Is Stiff and Crunchy
That is the gel cast. Scrunch it out with a few drops of oil, working from the ends upward. If the hair stays stiff, use a little less product next time.
Your Roots Look Flat or Fluffy
Flat roots: flip your head over and fluff at the scalp. Fluffy roots: braid closer to the scalp and smooth the hair flat before you begin each braid.
Hair Is Still Damp in the Morning
Use a diffuser on a cool setting or a hooded dryer for 10 to 15 minutes. Next time, start with damper rather than wetter hair.

Braid-Out Mistakes to Avoid
Most failed sets come from one of these habits. If you want more, see curly hair mistakes for the full list.
| Mistake | What happens | Fix |
|---|---|---|
| Braiding soaking-wet hair | Slow drying, flat pattern | Wait until hair is damp |
| Skipping product | Frizz and no definition | Use leave-in plus gel or cream |
| Taking it down early | Frizz and lost shape | Wait until completely dry |
| Brushing the result | Poofy, shapeless hair | Finger-separate only |
Your Next Step
Pick a braid size from the table, set aside one evening and try it on your next wash day. If you want to build a full routine around it, the weekly curly hair routine fits the braid-out neatly into a wash-day schedule.
Frequently Asked Questions
How long does a braid-out last?
Can I do a braid-out on dry hair?
Why does my braid-out come out frizzy?
Should I braid curly hair wet or dry?
You might also like
More in Hair Care →
How to Detangle Curly Hair Without Breakage
Learn how to detangle curly hair without breakage with a step-by-step method, the right tools and fixes for stubborn knots. Save this guide for wash day!

A Simple Weekly Curly Hair Routine (Works for Wavy Hair Too)
Follow this simple weekly curly hair routine for soft, defined curls and waves, with wash day, refresh days and night care mapped out. Steal the schedule!
How to Plop Curly Hair With a T-Shirt (Step-by-Step)
Learn how to plop curly hair with a cotton T-shirt in five easy steps, plus timing by hair type, troubleshooting and a no-crunch finish. Try it tonight!